So it's been a while since I've written anything and to sum up the the last month or two...
EXAMS
EXAMS
WORK
EXAMS
Stamp making.....
The stamp making was a very long research process and some very nice hands on learning. I discovered the Ganoksin community, an amazing network of artists and crafts...people... from all over the world. They've taught me loads about working with steel and fabricating my own handmade stamps. So far though, I've made a heart and my own personal symbol. No pictures right now, since I'm not sure I've hardened and tempered them correctly.
Anyway, the jewelry making is going to be put on the back burner for now... Material are expensive and I'm trying to make sure my credit card bill doesn't put me into bankruptcy... That's what grad school is for.
----------
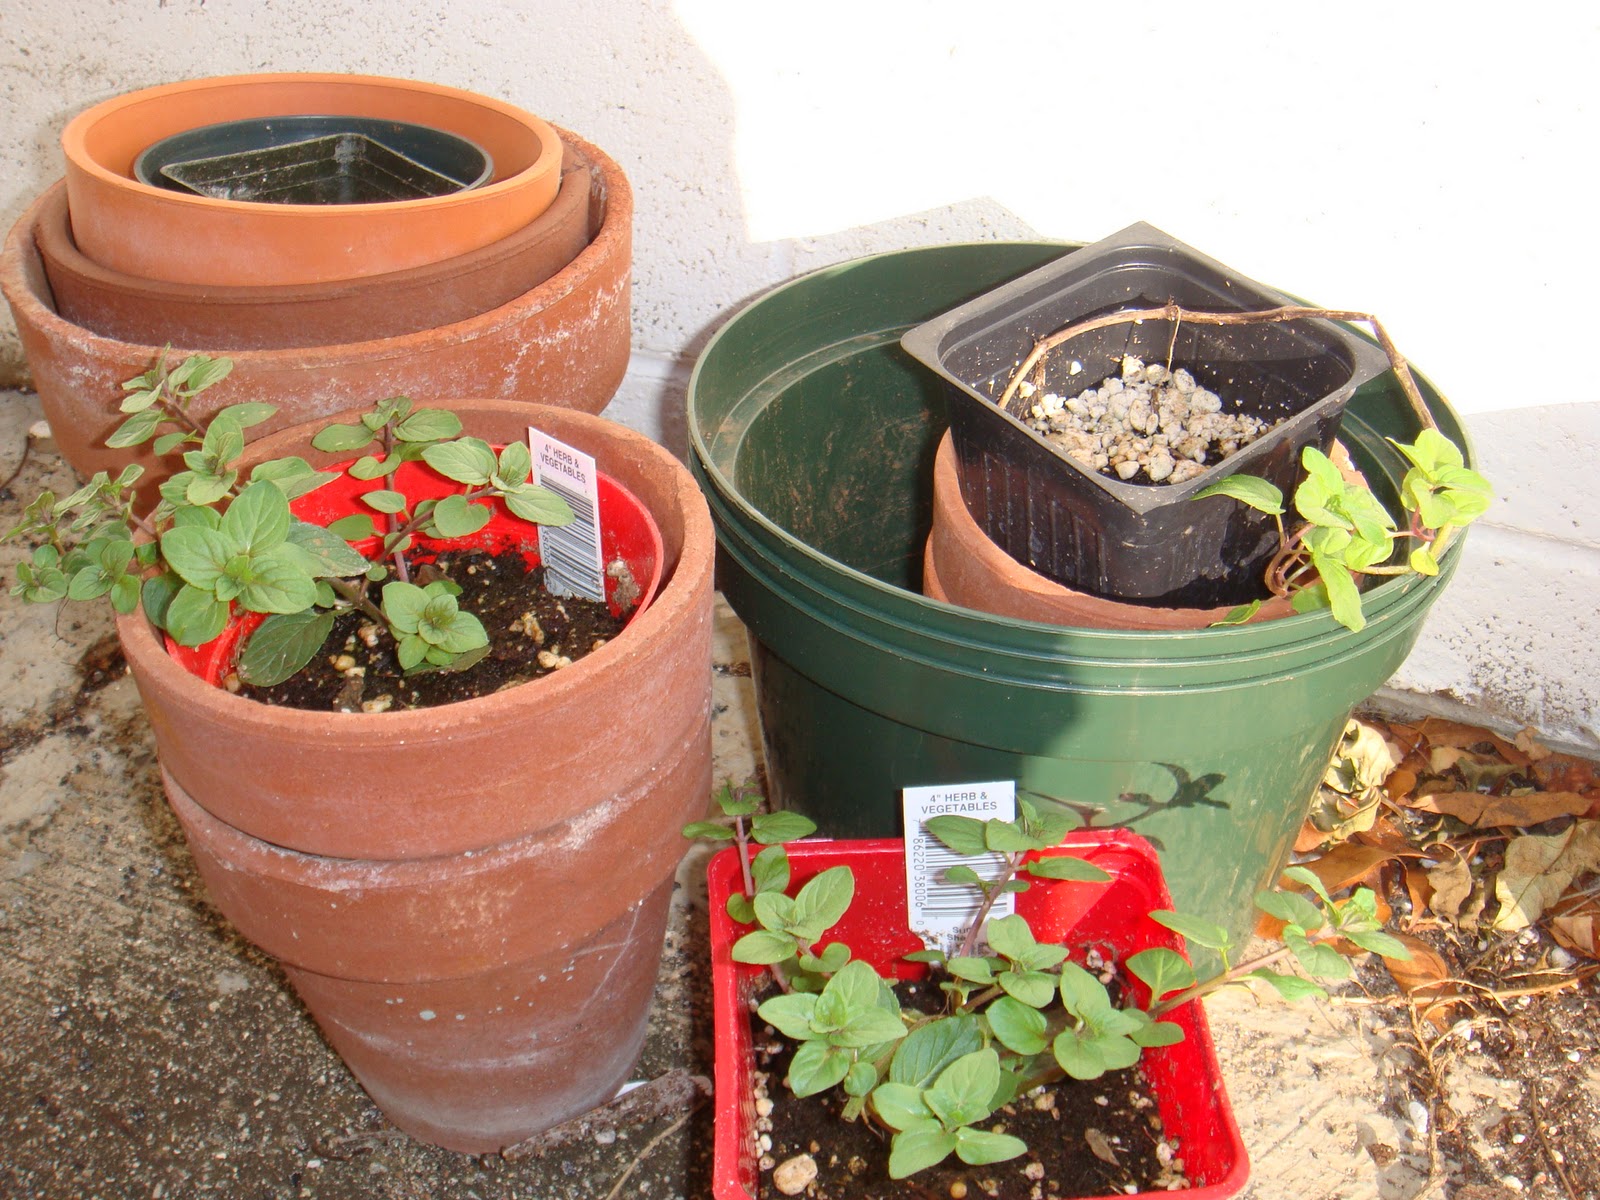
In the mean time, I've been revisiting my garden (it had been moonlighting as a dead plant museum. poor things...) and I must say, I am pretty impressed with mint... and myself. The only things to survive my attempts at urban container gardening were my Mint, Rosemary, Aloe, Thyme and Ti Leaf. The Ti Leaf and Rosemary were barely hanging on (and I'm not even sure the Rosemary will make a recovery), but they've been repotted and I've got my fingers and toes crossed for them. I must say though, I am utterly stunned by the hardiness of mint. I had not touched, repotted, or watered the thing in at least three months, but it was sending up runners and sprouting all over that pot. I think a good 1/4 of the potting mix actually got washed out of the pot when we had that huge storm a few months back, but that thing was just kickin along... granted, it was pretty scraggly, but still. I'm sure that perseverance will bite me in the butt in the future, but hey, I like mint, so I'm just gonna keep my mouth shut for now.
So, to continue on from my tangent, I've been doing research into the plants I'm planning to collect and container gardening.

I repotted the Mint into a sprout cuttings, and potted up four root cuttings.
Repotted the Rosemary which was root bound (I clipped the roots a bit and whacked the branches back pretty hard).
 |
| Rosemary after being pruned. Needles were red before transplanting. Not sure why though. |


I also repotted the ti leaf and aloe, both of which had roots poppin out the bottoms of their clay pots.
The Thyme was very woody from neglect, but because of all the rain they had started to put on some nice new growth. I took as many cuttings as I could and stuck them in soda bottle SIPs (Sub-Irrigating Planters), which I had made ages ago to propagate Rosemary cuttings. There are three Thyme cuttings sitting in SIPs filled with coir.
 |
| Two of the thyme cuttings in SIPs. Usually have "green house" hood on, but kept off for photo. |
I kinda mixed together my own potting mix from whatever I could scrounge together, which came out to about 1/3 coir, 1/3 potting soil, and 1/3 perlite. Hopefully, it isn't too light of a medium for my plants to grow in.
I stopped by the Oahu Urban Garden Center for their Second Saturday sale. Sadly, I got there too late, so there wasn't much to actually buy, but I did find a baby Chocolate Mint. Unfortunately, when I got home I discovered the stem was actually damaged, so I don't have much faith in it surviving. Hopefully, if it does take a turn for the worst, I can propagate it from cuttings.
I also went by Home Depot to see what they had a voila! Two Chocolate Mints!! I was completely amazed!... and of course I bought both... sorry whoever else was looking for them...
 |
| Chocolate Mints! The sad little one in the black container is the one from the plant sale. |
 |
| Mojito Mint |
 |
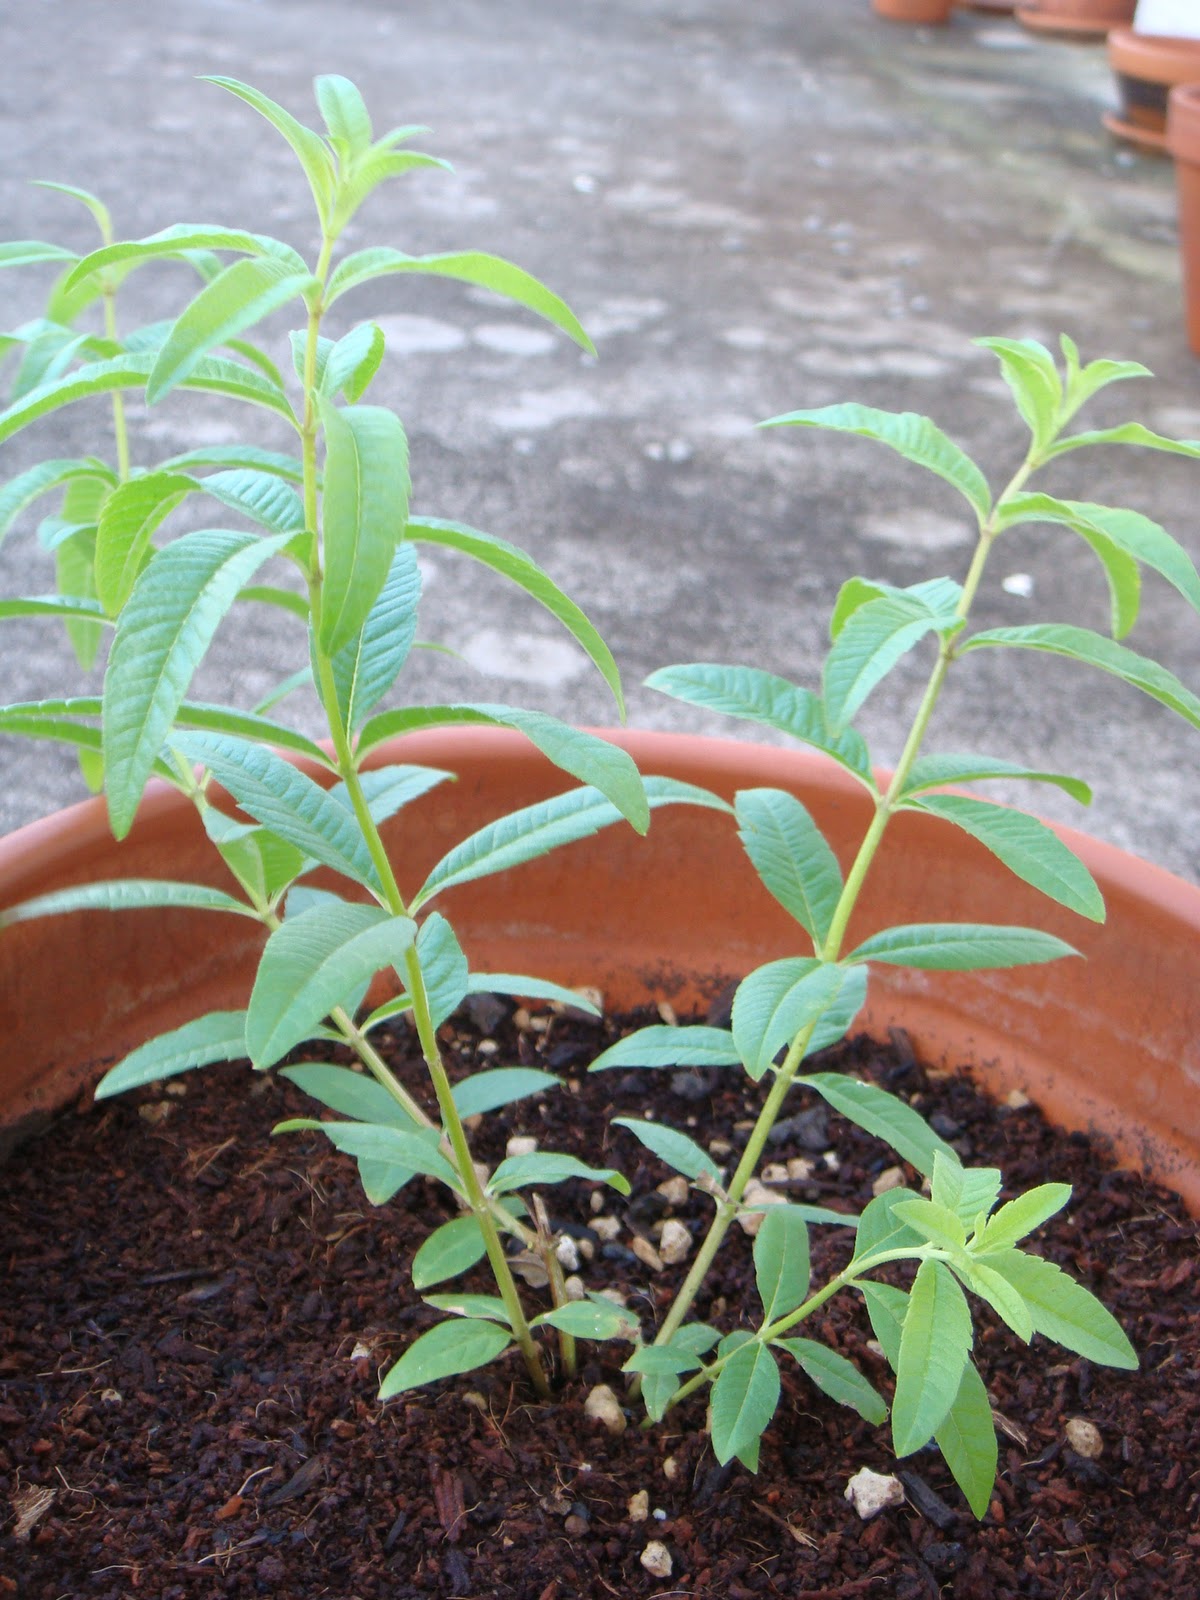
| Lemon Verbena |
In addition, I found a Mojito Mint (BIG plans for this one for before and after finals), and a Lemon Verbena. Both of these plants were already pretty big, but they were the only ones I could find that weren't root bound and/or flowering.
And lastly, I stopped by Lyon Arboretum during my break between classes and purchased two new Miracle Berry plants (Synsepalum Dulcificum). The one I had from before turned into a sad little house plant which wasn't growing at all, but a week in front of the window helped it put on some new growth (still thin and sad, but new growth all the same. I'm going to run an experiment, so I potted the old one into an SIP made out of a 2 liter Coke bottle (coincidentally, it's the perfect size for the repotting). The two new ones will be repotted sometime over the weekend. Still deciding if I'll put it into a clay pot or another homemade SIP. I'll probably run an experiment and do one and one.
 |
Miracle Fruit (Synsepalum Dulcificum)
Left and Bottom from Lyon Arboretum
Right is previous houseplant in 2liter SIP |
Phew, that's a lot of planting for a week. Except, I also put in some Catnip (nepeta cataria) in peat grow plugs. It's been about three days and they've started to sprout! Hooray!
---------
Now for the researching. The short bit is the list of plants I am planning to grow: Himalayan Strawberries, Chives, Oregano, Hawaiian Raspberry, Savory, and Lavender. I'm sure there are more, but I probably should end my zealousness while I can.
For those that don't know, Sub-Irrigating Planters, or SIPs, are planting systems that hold water below a plant and "wick" the water upwards into the growing medium. This system has been tested and shown to be exponentially more efficient than top down watering. The plants draw water into their roots, and as the media "dries" water is drawn up into the medium to replace the "lost" water. It keeps the media evenly moist and waters the plant only as fast as it needs it. This process also eliminates the substantial loss of water through evaporation brought on by over saturation at the media surface. That's actually my understanding of the process. A good resource is actually
Inside Urban Garden, a blog that has taught me much and consumed many many hours of reading time and SIP production. A more direct link to construction is this entry on the author's flickr:
SIP Soda Bottle Construction
All this research has resulted in construction of about six plastic bottle SIPs made from 2 liter bottles, smartwater bottles and and any other evenly shaped plastic bottle I can find.
Well, that's all for now. Pictures of the plants to come. (Updated March 25th with pictures)